/
Home/
How TryDirect Works
How TryDirect Works
TryDirect has developed a simple method to integrate and deploy a range of open source applications (e.g. WordPress, Portainer, MySQL, Odoo, Pimcore etc.) on a cloud platform of your choice, including Hetzner Cloud, Amazon AWS, Alibaba Cloud, Digital Ocean, Google Cloud, Linode, Vultr, Upcloud and even your own on-premise server.
Basically saying TryDirect is a toolset for installation or deployment. Additionally, we have developed a deployment tool called Stack Builder which allows you to deploy more than one app, you can compose your solution and then deploy to the specific server in the cloud or your own server.
Before diving into the steps, it's worth mentioning that users can always request a consultation right from the installation page. Here's how
How to schedule tech support help
Now let's take a look at how the service works!
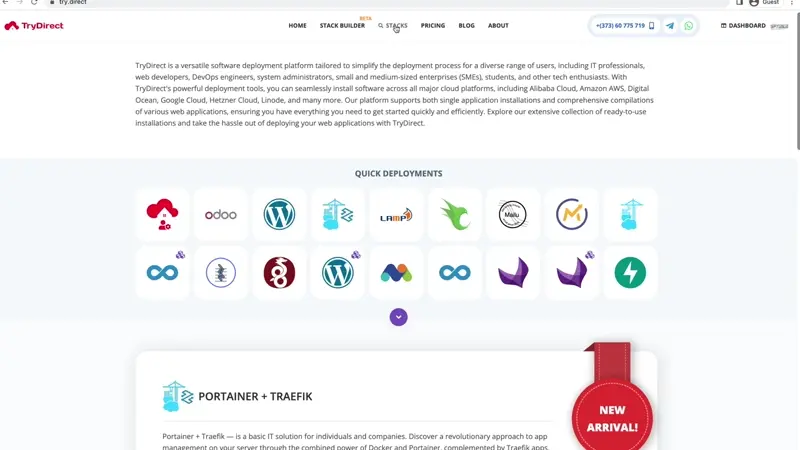
Step 1 - Finding The Web Application Stack
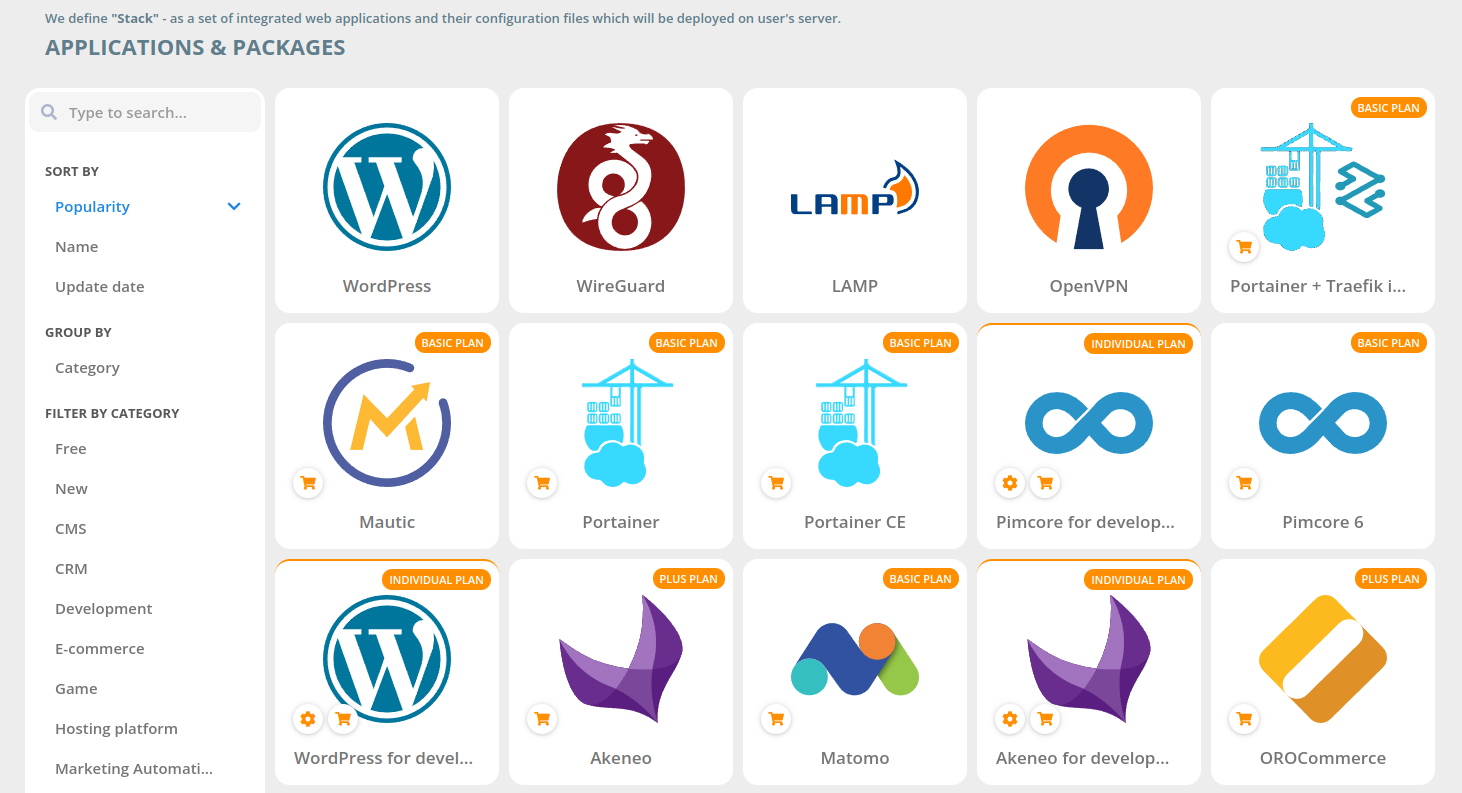
Visit TryDirect and check out our comprehensive list of readily available stacks such as Pimcore, Akeneo, Odoo, Mautic and more. Find and select the stack that best suits your business.
Step2 - Hosting Provider
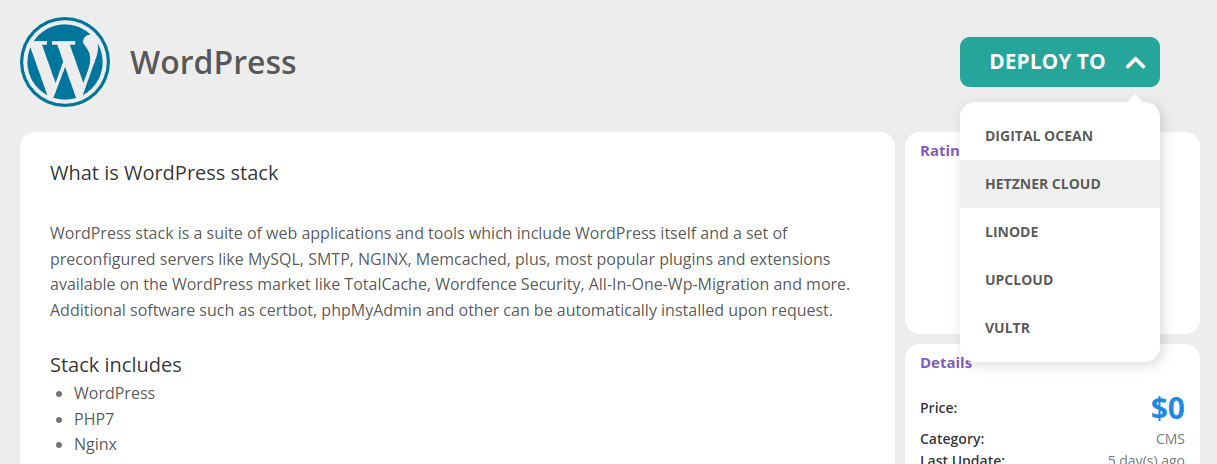
In order to deploy the selected application stack, you need to have a server. You don’t have to create it manually, just link your cloud account (Google Cloud, Amazon AWS, Digital Ocean, Hetzner Cloud or one from the list below) or use personal access token provided by your hosting. TryDirect is also able to select the appropriate server for you. Your own on-premise, self-hosted server is also supported.
Step 3 - Configuring Your Server
Once you’ve selected a hosting / cloud provider, you will be asked to add additional information in order to configure your server.
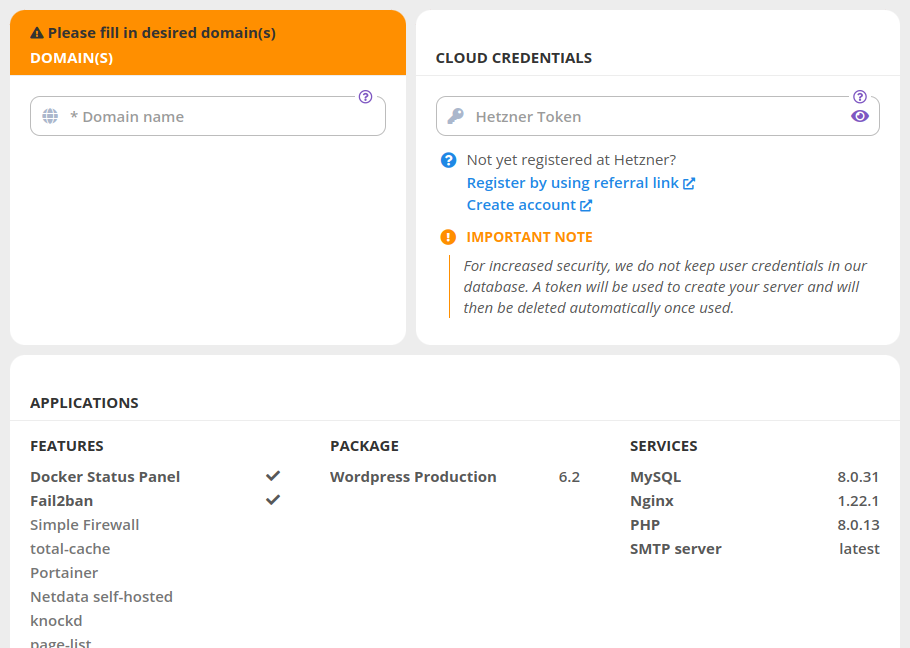
Hetzner Cloud - Configure domain, package and cloud connection

Hetzner Cloud - Network, hardware and software configuration
- Fill in domain name
- Select region
- Select server instance
- Choose OS
TryDirect decides the minimum requirements for your deployment and provides available server to the user. Whether you have a low-traffic sites or high one, TryDirect will automatically select the appropriate VPS server accordingly.
Step 4 - Obtaining Your Personal Key
After configuring your server and adding information about the domain, you will be asked to include a personal key (Access Key ID). You can find more information about obtaining your Access Key ID from your chosen hosting service provider.
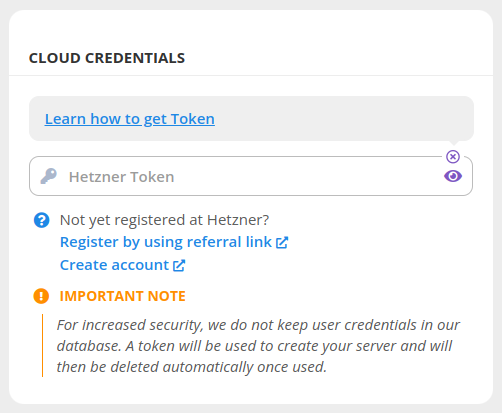
If you have an existing Google Cloud, Digital Ocean or Linode account, you can sign in directly to TryDirect from your Cloud account. However before you can proceed, you will be asked to grant access to TryDirect to manage your Cloud Account.
Step 5 - Deploy
Once you enter your key, the ”Deploy” button will be enabled. By clicking it, the deployment process of your selected stack will start.
You can also monitor the progress of the deployment process in real time from your dashboard control panel.

Once the deployment is complete, you will receive an email notification with further instructions. You can also view deployment results in your dashboard by clicking on the “Info” icon.
Are you an IT person? Need more custom applications installed on your own (on-premise) server? Try Stack Builder

